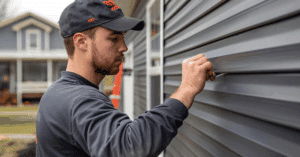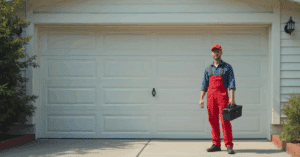
To install a garage door may seem like a job meant only for professionals, especially when you consider the size, weight, and moving parts involved. However, for many determined and handy homeowners, it’s a project that can be tackled successfully with the right mindset, tools, and attention to detail. A properly installed garage door not only enhances your home’s curb appeal but also improves security, insulation, and overall functionality.
Whether you’re replacing an outdated door that’s seen better days or setting up a brand-new system for a recently built garage, learning how to install a garage door yourself can be incredibly rewarding. It allows you to gain a deeper understanding of your home’s mechanics and provides the satisfaction of completing a substantial improvement project on your own. While the process does require time and careful planning, the end result is a safer, more efficient garage entryway that adds value to your property.
In this guide, we’ll cover everything you need to know about how to install a garage door—from preparation to final adjustments—so you can approach the task with confidence and clarity.
Understanding Garage Door Components
Before you begin, it’s important to understand the major components of a typical garage door system. A standard garage door includes:
- Door panels (usually made of steel, wood, or aluminum)
- Tracks (vertical and horizontal)
- Torsion or extension springs
- Rollers and hinges
- Cables and pulleys
- Garage door opener (optional)
Knowing how each part functions helps make the installation process smoother and safer.
Step 1: Gather the Right Tools and Materials
To install a garage door, you’ll need several basic tools, including:
- A level
- Screwdrivers and socket wrench set
- Power drill
- Tape measure
- Locking pliers
- Stepladder
- Safety glasses and gloves
Also, have your garage door kit ready. Most kits come with instructions, but this guide will provide you with a general and easy-to-follow outline.
Step 2: Prepare the Opening
The first step in installing a garage door is to prepare the door opening. Remove the old garage door if one is installed. Clean and inspect the framing to make sure it’s level and solid. Measure the width and height of the opening to confirm the new door fits properly.
Ensure the header (the beam across the top of the frame) is level, and check that the side jambs (vertical framing) are plumb. Any structural issues should be addressed before proceeding.
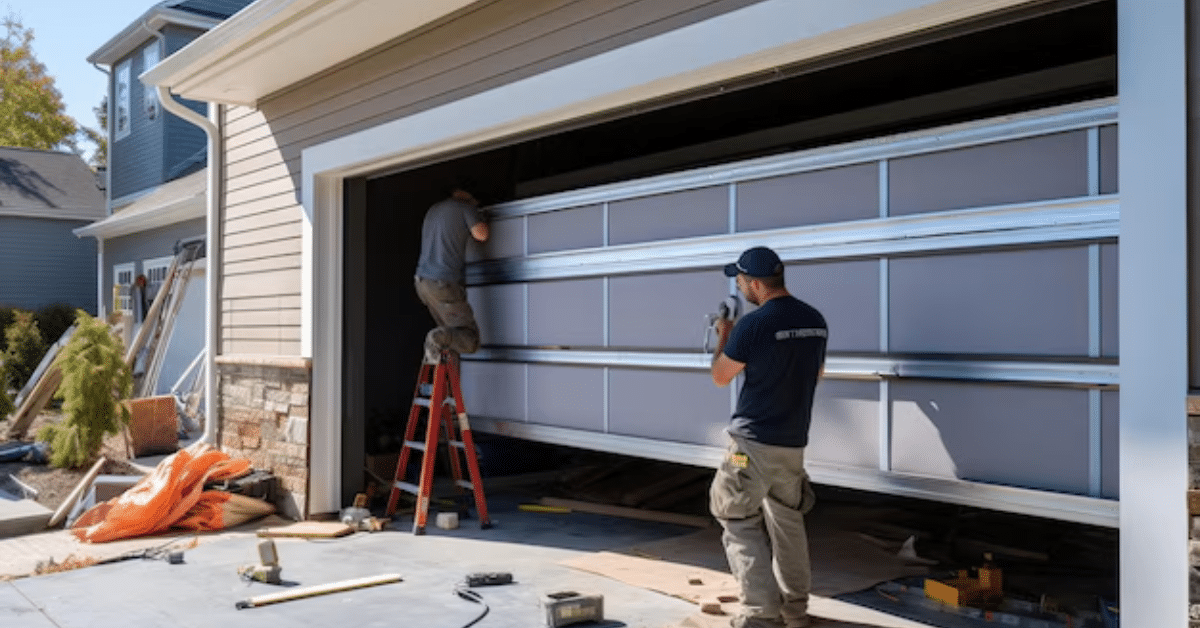
Step 3: Install the Bottom Panel
Start by positioning the bottom section of the garage door in the center of the opening. Secure it in place with temporary nails or brackets to prevent movement. Attach the brackets and hinges according to your garage door’s manual. Once the bottom panel is secure, place rollers in the hinges.
It’s crucial that the first panel is level, as every other section will be stacked above it.
Step 4: Add Additional Panels
Carefully place the next panel above the bottom one, aligning it with the hinges. Secure the panels with screws and connect them using the hinges. Insert the rollers into each side hinge as you go. Continue this step for each panel until the full height of the door is assembled.
Use your level frequently to ensure each panel is aligned correctly. Misalignment can lead to improper door operation and increased wear on parts.
Step 5: Install the Tracks
Once all the panels are stacked, it’s time to install the tracks. Begin by attaching the vertical track sections to the side of the door. Make sure they’re plumb (perfectly vertical). Secure them to the wall using brackets and lag screws.
Next, install the curved section that connects the vertical track to the horizontal track. Then, secure the horizontal tracks to the ceiling using angle brackets. Ensure both sides are level and aligned properly.
Proper alignment of the track is crucial for the smooth movement of the garage door. If the track is off even slightly, the door may jam or operate unevenly.
Step 6: Attach the Spring System
Garage doors use either torsion springs or extension springs to counterbalance the weight of the door. Torsion springs mount above the door and provide better balance and safety. Extension springs stretch along the horizontal track.
Installing springs is the most dangerous part of garage door installation. If done incorrectly, they can cause serious injury. If you’re unfamiliar or uncomfortable with this part, it’s best to hire a professional for the spring installation.
If you choose to proceed, carefully follow the manufacturer’s instructions. For torsion springs, secure them to the torsion bar, wind the springs to the specified tension using winding bars, and lock them in place with set screws.
Step 7: Install the Lift Cables and Safety Cables
Connect the lift cables to the bottom bracket of the door and route them up through the pulleys or around the drums (depending on your spring type). For extension spring systems, install safety cables through the center of each spring to prevent injury if the spring breaks.
Ensure that cables are taut but not overly tight, as they need slight slack for proper operation.
Step 8: Test Manual Operation
Before installing an automatic opener, test the door manually. It should open and close smoothly without sticking or excessive resistance. If the door feels too heavy, the spring tension may need adjustment.
Listen for strange noises and observe if the door glides along the track easily. This step ensures your system is balanced and functioning properly.
Step 9: Install the Garage Door Opener (Optional)
If you’re installing a garage door opener, follow the manufacturer’s instructions closely. Most openers require mounting a rail to the ceiling, attaching a motor, and connecting the arm to the door. Align the opener so that it pulls the door evenly and doesn’t place stress on one side.
Be sure to install the safety sensors near the base of the door tracks to comply with safety standards and prevent the door from closing on children or pets.
Step 10: Final Checks and Maintenance Tips
Once the door and opener are installed, tighten all bolts, check cable tension, and lubricate rollers and hinges with garage door lubricant. Operate the door several times to confirm everything functions correctly.
Regular maintenance, such as cleaning the tracks and lubricating moving parts, can extend the life of your garage door system and reduce the chance of breakdowns.
Final Thoughts
Learning how to install a garage door can be a rewarding DIY project, saving hundreds in labor costs while boosting your home’s functionality and curb appeal. However, safety must be your top priority—especially when dealing with springs and heavy panels.
By following this step-by-step guide, using the right tools, and paying attention to alignment and safety, you can successfully complete your garage door installation. If any part of the process feels overwhelming, don’t hesitate to consult with or hire a professional to ensure your installation is both safe and effective.
With your new garage door properly installed, you’ll enjoy smoother operation, increased home security, and a fresh, polished exterior that adds value to your property.