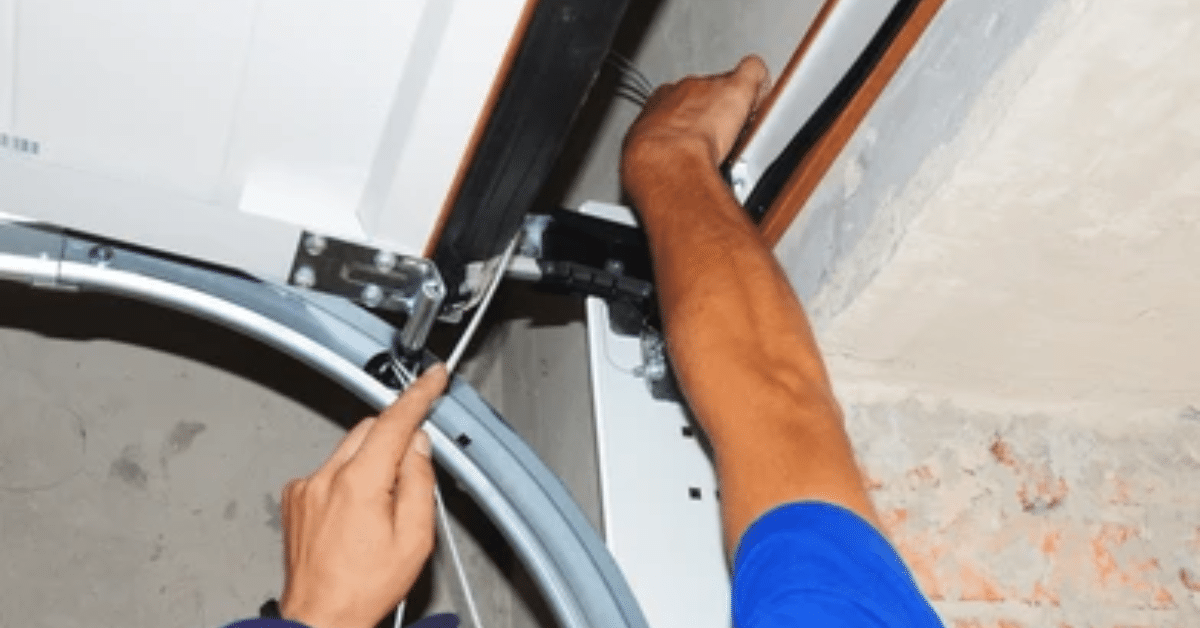
Garage door springs are essential components that play a critical role in the overall functionality and safety of your garage door system. They counterbalance the weight of the door, allowing it to open and close with ease—either manually or through an automatic opener. Without properly functioning springs, the garage door can become extremely heavy, difficult to lift, or even dangerous.
Over time, these springs experience wear and tear due to repeated cycles of opening and closing. Eventually, they may weaken, break, or lose tension, requiring replacement or installation of a new set. Whether you’re dealing with a broken spring or working on a brand-new garage door setup, understanding the correct method for installation is important for maintaining both safety and performance. In the following sections, we’ll explore what you need to know about garage door springs, the tools required, and a step-by-step breakdown of how the installation process works.
Understanding the Types of Garage Door Springs
Before jumping into installation, it’s important to identify which type of garage door spring your system uses. There are two main types:
- Torsion Springs – Mounted horizontally above the garage door opening, torsion springs store energy by twisting as the door closes and releasing it when the door opens.
- Extension Springs – Located on either side of the door above the tracks, these springs stretch and contract to open and close the door.
This article focuses on how to install torsion springs, which are more commonly used in modern garage doors due to their durability and better control.
Tools and Materials You’ll Need
Installing a garage door spring isn’t a task to take lightly. Safety comes first, so make sure you’re prepared with the right tools:
- Safety glasses and gloves
- Winding bars (never use screwdrivers)
- Socket wrench set
- Clamps or locking pliers
- Ladder
- Tape measure
- Replacement torsion spring(s)
- Marker or chalk
If you’re unsure about the spring size or weight capacity, consult the garage door’s manual or a professional before starting.
Step-by-Step Guide to Install a Garage Door Spring
1. Ensure Safety First
Garage door springs are under extreme tension. One wrong move can result in serious injury. Make sure the garage door is fully closed before you start. Disconnect the opener to avoid accidental activation and clamp the door to the track using locking pliers or C-clamps to prevent movement.
2. Remove the Old Spring
Using winding bars and a wrench, carefully unwind the broken spring. Insert the winding bar into one of the winding cone holes and hold it tightly. Loosen the set screws while holding the bar firmly. Once loose, use the second winding bar to alternate and unwind the spring completely.
Remove the bolts securing the spring from the center bracket and slide it off the torsion bar. Repeat for the other side if needed.
3. Measure for Replacement
Before installing the new garage door spring, measure the length, wire size, and inside diameter of the old spring to ensure you have the correct replacement. Using the wrong spring can damage your door or opener and compromise safety.
4. Install the New Spring
Slide the new torsion spring onto the torsion bar. Ensure the stationary cone is placed at the center bracket, and the winding cone is at the end near the cable drum. Reattach the spring to the center bracket using bolts.
Repeat the process for the second spring if your system uses two.
5. Tighten the Drums and Cables
With the spring in place, check the cable drums and make sure the lift cables are properly aligned and tensioned. Turn the drum to pull the cable taut, then tighten the set screws. Do the same on the other side to maintain balance.
6. Wind the Spring
This is one of the most critical and dangerous parts of installing a garage door spring. Insert one winding bar into the winding cone and begin winding the spring. The number of turns depends on your door height—typically 7.5 turns for a 7-foot door and 8.5 turns for an 8-foot door. Always use both bars and never place your body in front of the spring.
After winding, tighten the set screws firmly to hold the spring in place.
7. Test the Door
Once you’ve wound the springs and secured everything, remove the clamps from the track. Manually lift the garage door halfway. It should stay in place. If it drops or rises on its own, the tension may need adjustment. If balanced correctly, reconnect the garage door opener and test it a few times to ensure smooth operation.
Safety Tips for Installing Garage Door Springs
- Never reuse old springs or hardware. Always install new springs with compatible components.
- Use only winding bars designed for torsion springs. Never substitute with screwdrivers or other tools.
- Work with a partner if possible. It’s safer and can make the job easier.
- If you’re unsure or uncomfortable, consult a professional technician. Garage door spring installation involves high tension and shouldn’t be attempted without confidence and care.
Final Thoughts
Learning how to install a garage door spring can be empowering, but it’s also a task that demands caution, correct tools, and precise steps. A poorly installed spring can lead to property damage or personal injury. By following this guide carefully and using the right spring and equipment, you can complete the job safely and restore the functionality of your garage door.
For many homeowners, hiring a professional is a smart choice—especially if your door is heavy or has a double-spring system. But if you’re confident in your skills and take all necessary precautions, installing a garage door spring is a task you can handle.
Remember, proper maintenance after installation, such as lubricating the springs and inspecting them regularly, will help prolong their life and ensure your garage door continues operating smoothly.


