When it comes to modern convenience, a LiftMaster garage door opener is one of the most reliable systems for homeowners. But if you’ve just purchased a new unit, installed a remote, or replaced your keypad, you may be wondering how to program LiftMaster garage door opener effectively. Don’t worry—this guide will walk you through everything step by step.
Whether you’re setting up a new remote, syncing your keypad, or troubleshooting programming issues, understanding the right process ensures your garage door operates smoothly. Let’s explore how you can do this easily without the stress.
Why Learn How to Program LiftMaster Garage Door Opener?
Knowing how to program LiftMaster garage door opener has several benefits:
- Convenience – Add or replace remotes without hiring a technician.
- Security – Clear old codes to prevent unauthorized access.
- Efficiency – Reprogram quickly if you misplace a remote or keypad.
- Cost-saving – Avoid service calls by handling the setup yourself.
If you live in the New Braunfels area and prefer expert help instead of a DIY approach, local professionals like New Braunfels Garage Door Repair provide reliable garage door services. From opener installation to repair and maintenance, these trusted members ensure your LiftMaster system works safely and efficiently.
Step-by-Step: How to Program LiftMaster Garage Door Opener Remote
One of the most common needs homeowners have is setting up their garage door opener remote. Here’s a simple breakdown:
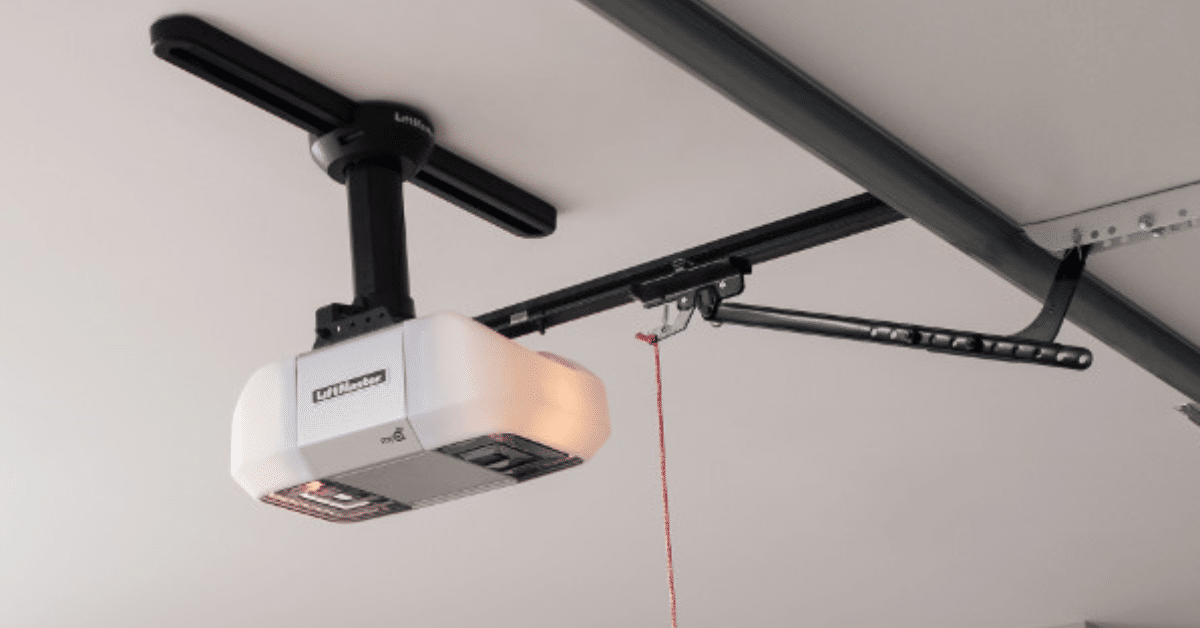
Step 1: Locate the “Learn” Button
On your LiftMaster garage door opener unit, you’ll find a “Learn” button—usually on the back or side of the motor housing. It might be yellow, red, purple, or green depending on your model.
Step 2: Press the Learn Button
Press and release the “Learn” button. A small LED light will activate, signaling the unit is ready to program.
Step 3: Press the Remote Button
Within 30 seconds of pressing the “Learn” button, press and hold the button on your remote that you want to program.
Step 4: Wait for Confirmation
The garage door opener lights may blink, or you’ll hear a click—this means programming was successful.
How to Program LiftMaster Garage Door Opener Keypad
If you have a wireless keypad outside your garage, you can also program it quickly.
Step 1: Press the Learn Button
As with the remote, start by pressing the “Learn” button on the opener.
Step 2: Enter a PIN
Go to your keypad and enter a four-digit PIN of your choice.
Step 3: Press Enter
Press the “Enter” button. The lights will flash, confirming the keypad has been programmed.
How to Erase Old Codes from LiftMaster Garage Door Opener
Security is essential, especially if you’ve moved into a new home or lost a remote. Here’s how to erase old codes:
- Locate the Learn button on your unit.
- Press and hold the button for about 6–10 seconds until the LED light turns off.
- This clears all previously programmed remotes and keypads.
- Reprogram the remotes and keypad using the steps above.
How to Program LiftMaster Garage Door Opener with MyQ Technology
LiftMaster models with MyQ technology allow smartphone control. Here’s how to set it up:
- Download the MyQ app on your phone.
- Create an account and log in.
- Follow the in-app instructions to connect your LiftMaster opener via Wi-Fi.
- Once paired, you can control and monitor your garage door remotely.
Troubleshooting: When Programming Doesn’t Work
Sometimes, even after following the steps, your LiftMaster garage door opener may not program correctly. Here’s what you can try:
- Check Battery – Replace the remote’s battery if it’s weak.
- Verify Range – Stand closer to the opener when programming.
- Inspect Antenna – Ensure the opener’s antenna is hanging down and not damaged.
- Reset and Retry – Clear all codes and reprogram from scratch.
- Compatibility Check – Ensure your remote or keypad matches your opener model.
Safety Tips While Programming LiftMaster Garage Door Opener
- Always keep the doorway clear while testing the opener.
- Never let children handle remotes unsupervised.
- Disconnect power if you need to inspect wiring.
- Regularly check sensors for proper alignment.
How Long Does It Take to Program LiftMaster Garage Door Opener?
In most cases, programming a LiftMaster garage door opener takes just a few minutes. Setting up remotes, keypads, or even Wi-Fi connections is straightforward if you follow the instructions carefully.
Maintenance Tips After Programming
After learning how to program LiftMaster garage door opener, it’s equally important to keep your unit in good condition:
- Lubricate moving parts every six months.
- Check the balance of the door to prevent strain on the opener.
- Test sensors to ensure safety compliance.
- Replace batteries in remotes and keypads regularly.
Final Thoughts
Programming a garage door opener might sound complicated, but as you’ve seen, the process is straightforward. Once you know how to program LiftMaster garage door opener, you’ll have full control over remotes, keypads, and even smartphone apps like MyQ.
By following the step-by-step instructions above, you can save time, money, and stress while keeping your home secure.
So, whether you’re setting up a new remote, erasing old codes, or exploring smart home features, mastering this process will ensure your LiftMaster garage door opener works seamlessly for years to come.