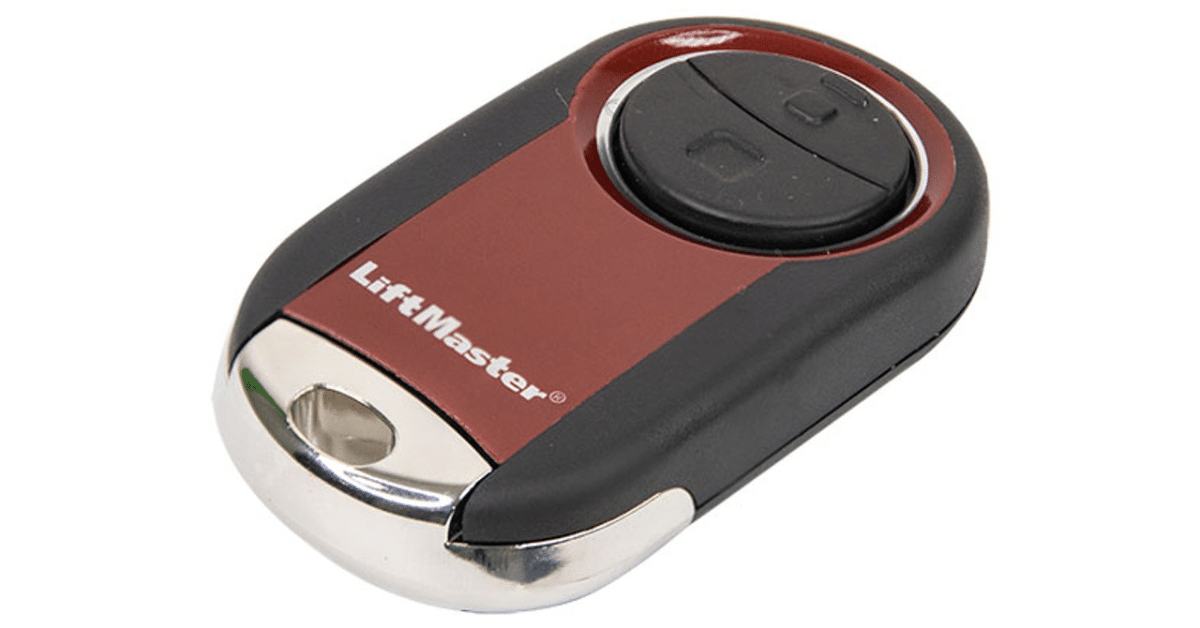
If you’ve recently purchased a new remote or need to replace an old one, you may be wondering how to program LiftMaster remote to work with your garage door opener. The good news is that programming is simple and only takes a few minutes. With the right steps, you’ll be able to connect your remote to the opener without needing professional help.
In this article, we’ll cover everything you need to know about syncing a LiftMaster remote, programming it to the keypad, clearing old codes, and troubleshooting when things don’t go as planned.
Why Learn How to Program LiftMaster Remote?
Before jumping into the steps, it’s important to understand why knowing how to program LiftMaster remote is so useful:
- Convenience: Quickly set up a new or replacement remote.
- Security: Erase old remotes if they’re lost or stolen.
- Independence: Save money by avoiding technician visits.
- Control: Manage who has access to your garage.
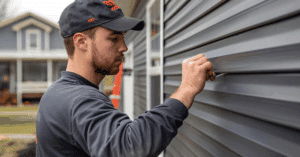
If you’d rather leave the job to professionals, trusted garage door experts in the New Braunfels offer reliable installation, programming, and maintenance services. These local specialists ensure your LiftMaster system is set up correctly, providing long-term security and peace of mind for homeowners.
Step-by-Step Guide: How to Program LiftMaster Remote
Programming your remote is a straightforward process. Here’s how you can do it:
Step 1: Locate the Learn Button
On your LiftMaster garage door opener motor unit, find the Learn button. It’s typically located on the back or side panel of the opener. Depending on your model, the button may be yellow, red, purple, or green.
Step 2: Press the Learn Button
Press and release the “Learn” button. The LED light next to it will turn on, indicating that the opener is ready to receive a new remote signal.
Step 3: Program the Remote
Within 30 seconds, press and hold the button on the remote that you want to program.
Step 4: Confirmation
If the programming was successful, the garage door opener light will blink, or you’ll hear a clicking sound. Your LiftMaster remote is now ready to use.
How to Program LiftMaster Remote to Keypad
In addition to syncing the remote, you might want to pair it with a wireless keypad.
- Press the Learn button on the opener.
- Go to your keypad and enter a four-digit PIN of your choice.
- Press the “Enter” button.
- The lights on the opener will flash, confirming successful programming.
How to Erase Old Codes on LiftMaster Remote
Sometimes you may need to clear out old remotes for security reasons—especially if you’ve moved into a new home or lost a remote.
- Locate the Learn button.
- Press and hold it for 6–10 seconds until the LED light turns off.
- This action erases all previously stored remotes and keypads.
- Reprogram your new remotes using the earlier steps.
How to Program LiftMaster Remote with Multiple Doors
If you own multiple garage doors, you can program one LiftMaster remote to control more than one opener:
- Follow the programming steps above for the first door.
- Use a different button on the remote for the second door.
- Repeat the same process for each opener.
This way, one remote can operate two or three doors, depending on your remote model.
Troubleshooting: When LiftMaster Remote Won’t Program
Even after following instructions, you might face issues. Here are some quick fixes:
- Replace the Battery: A weak remote battery often causes syncing problems.
- Check the Range: Stand closer to the opener while programming.
- Inspect the Antenna: Ensure the opener’s antenna is hanging properly.
- Clear and Retry: Reset old codes and attempt programming again.
- Compatibility Check: Confirm your remote matches your opener model.
Safety Precautions While Programming
Whenever you’re working with your garage door system, keep these safety tips in mind:
- Keep the doorway clear of people and objects while testing.
- Don’t let children handle remotes unsupervised.
- Disconnect power before inspecting electrical components.
- Regularly test safety sensors after programming.
Maintenance Tips After Programming LiftMaster Remote
Once you know how to program LiftMaster remote, it’s also important to maintain your system for long-term performance:
- Lubricate door tracks and rollers every 6 months.
- Replace remote batteries annually.
- Test opener balance to avoid motor strain.
- Keep sensors clean and properly aligned.
How Long Does It Take to Program LiftMaster Remote?
Typically, programming a LiftMaster remote takes under five minutes. Even if you’re a beginner, the process is designed to be quick and user-friendly.
Final Thoughts
Learning how to program LiftMaster remote doesn’t have to be intimidating. By following the step-by-step instructions provided above, you can sync your remote, erase old codes, and even connect multiple doors with ease.
Not only does this save you time and money, but it also ensures your home remains secure. With just a few minutes of effort, you’ll enjoy the full convenience of your LiftMaster garage door opener.