A properly sealed garage door plays a vital role in protecting your garage from water leaks, cold drafts, dust, and unwanted pests. Over time, however, the bottom garage door seal can crack, warp, or flatten out due to wear and weather exposure. When this happens, it’s essential to replace it promptly to maintain your home’s energy efficiency and cleanliness.
If you’re noticing a cold breeze, light coming through the bottom of your garage door, or signs of moisture buildup, it may be time for a new garage door seal. In this article, we’ll walk you through how to replace a garage door seal, including the tools you’ll need, common seal types, and helpful tips for a smooth installation.
Why Replacing Your Garage Door Seal Matters
The garage door bottom seal is more than just a strip of rubber. It forms a tight barrier between your garage and the outside environment. When the seal wears out, it can lead to:
- Higher energy bills due to heat loss or gain
- Water damage from rain or melting snow
- Increased dust and debris entering your garage
- Rodents and insects finding their way in
Replacing the garage door seal is a simple yet impactful maintenance task that homeowners can often handle themselves with minimal tools.
Signs You Need a New Garage Door Seal
Before replacing the seal, it’s important to confirm that it’s the real cause of the problem. Look for these common signs:
- Cracked, brittle, or flattened rubber
- Light shining through at the bottom of the closed door
- Water stains or puddles after rain
- Increased drafts or temperature fluctuations
- Insect or rodent activity inside the garage
If you notice any of these issues, replacing the bottom seal can make a significant difference.
Types of Garage Door Seals
There are a few different types of seals available, depending on the style of your garage door and the track it uses:
- Bottom Seal (U-Shaped or T-Shaped)
Fits into a metal track on the bottom of the door and compresses to block gaps. - Threshold Seal
Attached to the garage floor instead of the door, often used in combination with a bottom seal for extra protection. - Brush Seal or Vinyl Door Stop
Installed on the sides and top of the garage door to seal gaps around the frame.
For this article, we’re focusing specifically on replacing the garage door bottom seal, the most common type.
Tools and Materials You’ll Need
Before you begin the replacement process, gather the following items:
- Replacement garage door bottom seal (correct size and type)
- Flathead screwdriver or utility knife
- Soap and water or mild cleaner
- Measuring tape
- Pliers (optional)
- Silicone lubricant (optional)
Make sure to choose a seal compatible with your garage door’s existing retainer (the metal track at the bottom of the door). If your door doesn’t have a retainer, or it’s damaged, you may need to install a new one or purchase a seal kit.
How to Replace a Garage Door Seal
Step 1: Open the Garage Door and Secure It
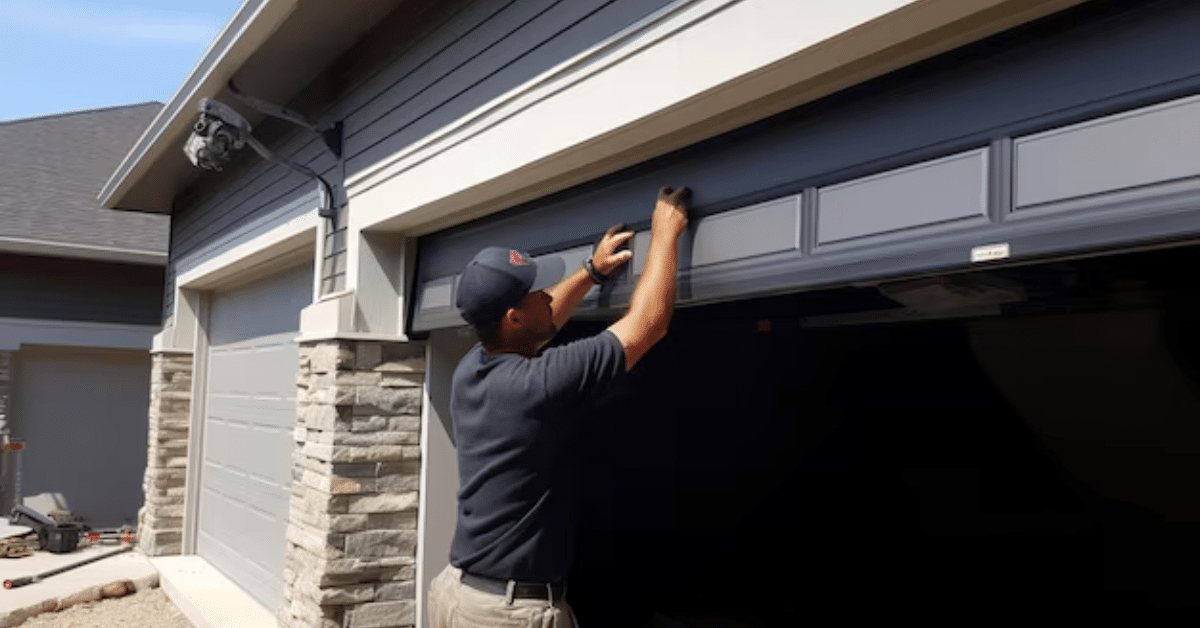
Start by raising the garage door to a comfortable working height and turning off the automatic opener for safety. Secure the door in place using locking pliers on the tracks if needed.
Step 2: Remove the Old Seal
Pull out the old seal from the retainer. If it’s stubborn or stuck, use a flathead screwdriver or utility knife to help loosen it. Be careful not to bend or damage the metal track during removal.
Once removed, clean the bottom of the door and the retainer with soap and water to remove dirt and debris. Allow it to dry completely.
Step 3: Measure and Cut the New Seal
Lay the new seal flat and measure it to match the length of your garage door. Add an extra inch or two, just in case. Use scissors or a utility knife to cut the seal to size.
Step 4: Install the New Seal
Apply a small amount of silicone lubricant if the new seal is difficult to slide into the track. Starting at one end, slide the seal into the retainer channels (T-style or U-style, depending on your door). This may take some patience, especially if the track is narrow.
Continue feeding the seal through until it reaches the other side. Once in place, trim any excess and fold the ends slightly upward to prevent the seal from slipping out.
Step 5: Test the Seal
Lower the garage door slowly and check for gaps, light, or uneven compression. The seal should lie flat and form a tight barrier. If you see any gaps, you may need to adjust or reinstall the seal to ensure proper alignment.
Maintenance Tips for Longer Seal Life
- Clean the seal regularly to prevent dirt buildup and cracking.
- Inspect the seal seasonally for wear, especially before winter and after storms.
- Avoid parking too close to the door if your car leaks fluids, as oil can degrade rubber.
- Replace the seal every 2–3 years or sooner if you notice signs of damage.
By maintaining a tight seal, you not only protect your garage but also extend the lifespan of the door and opener by preventing debris from interfering with the moving parts.
When to Call a Professional
While replacing a garage door seal is a manageable DIY task, there are times when it’s best to seek professional help. If your seal track is damaged, your door is misaligned, or you’re unsure about the type of seal needed, a licensed garage door technician can ensure the job is done correctly and safely.
Final Thoughts
Knowing how to replace a garage door seal is a valuable skill for any homeowner. It’s a straightforward project that provides immediate benefits in terms of comfort, cleanliness, and energy efficiency. Whether you’re preparing for winter, preventing water intrusion, or sealing out pests, a fresh garage door seal is a smart and affordable home improvement.
Keep your garage protected and your home comfortable—replace that worn-out seal today and enjoy the peace of mind that comes with a job well done.


